7 Mechanical Causes of Skipped Stitches on a Sewing Machine
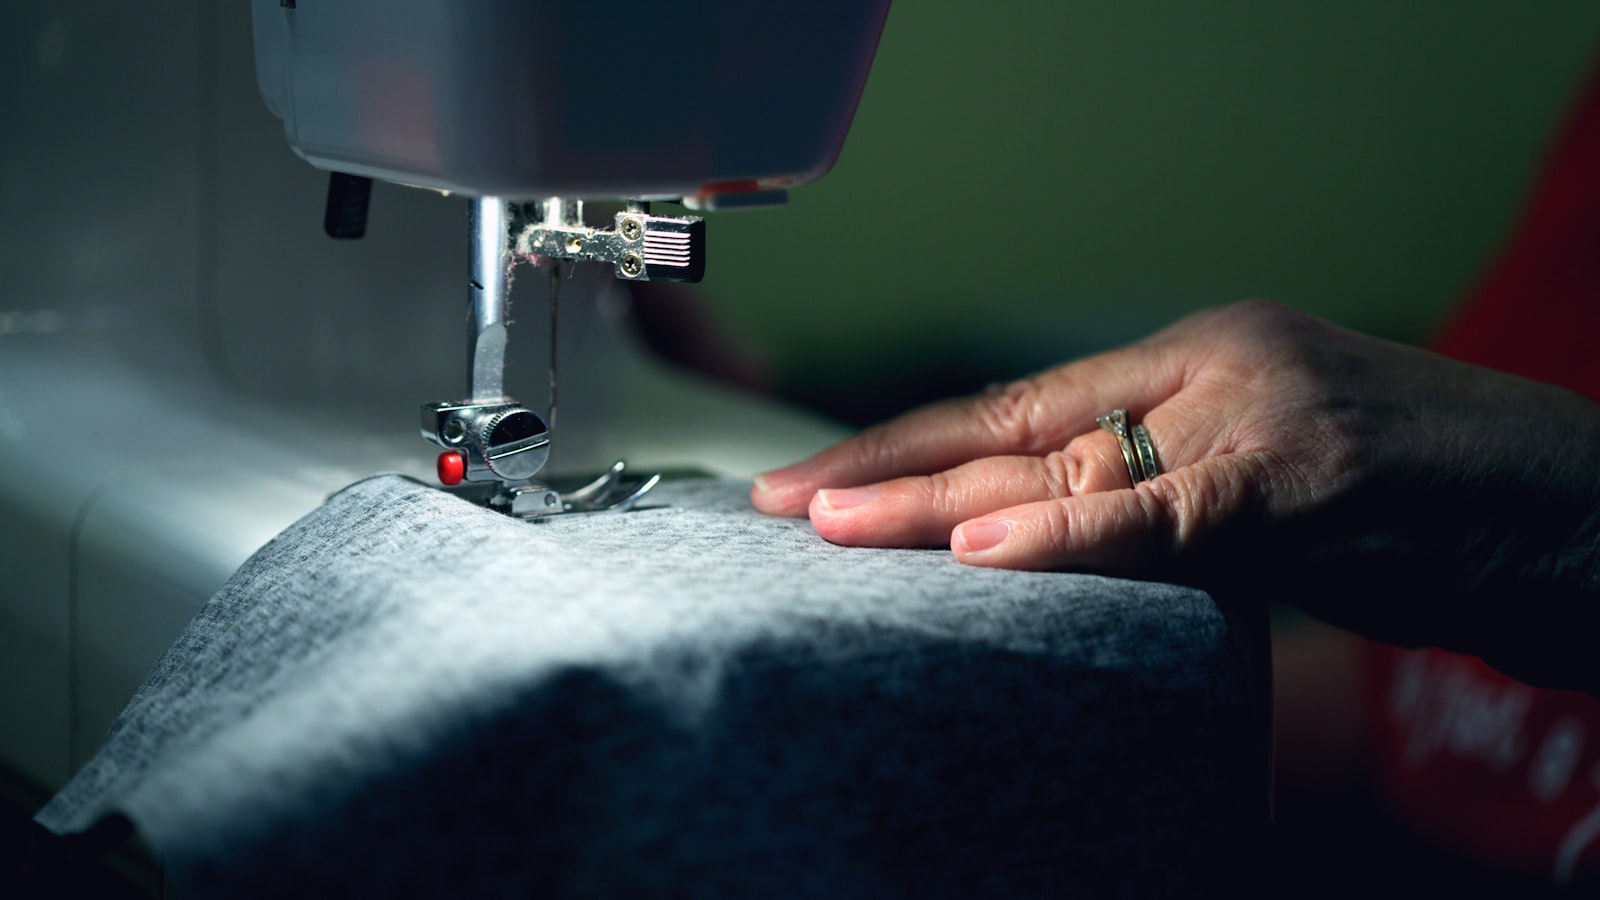
Photo by Alexander Grey on Unsplash
Disclosure: Some links below are affiliate links. If you buy through them we may earn a small commission at no extra cost to you. This never affects our recommendations.
Key Takeaways
Skipped stitches on a sewing machine are always mechanical—never caused by thread or fabric alone. The 7 core causes are:
- Bent/dull needles (most common)
- Wrong needle size/type for the fabric
- Hook timing misalignment
- Damaged bobbin case (nicks, burrs)
- Worn feed dogs
- Incorrect tension settings
- Thread-path obstructions
Diagnose by symptom:
- Top thread loops underneath? → Needle or thread issue.
- Bottom thread loops on top? → Hook timing or bobbin case.
- Skips only on thick layers? → Needle too small or wrong type.
Start with the simplest checks (needle, thread path) before tackling advanced diagnostics (timing, feed dogs). Use the symptom-to-cause table to pinpoint the problem before making adjustments.
Part of our complete guide: for the full picture, see What Causes Seam Puckering When Sewing? The Mechanical Breakdown.
How Skipped Stitches Actually Happen: The Mechanical Chain
A stitch isn’t magic—it’s a mechanical handshake between two threads. Here’s how it works:
-
Needle penetration The needle descends, carrying the top thread through the fabric. A dull point pushes material down instead of piercing it, delaying the thread’s descent. Thick layers or dense weaves deflect even sharp needles, forcing them to bend or miss the hook’s path entirely.
-
Thread loop formation As the needle retracts, the top thread forms a precise loop behind the eye. If the thread is too thick for the needle’s eye, or the needle is bent, the loop either:
- Doesn’t form at all.
- Forms in the wrong place (too high, too low, or off to the side).
-
Hook pickup The hook (or shuttle) races around the bobbin to catch the loop. If timing is off, the hook misses the loop, or the loop collapses before pickup. A worn hook point or misaligned bobbin case can also cause the thread to slip free.
The symptom tells you where to look:
- Top thread loops on the underside? → Issue is upstream (needle, thread tension).
- Bottom thread loops on top? → Issue is downstream (hook timing, bobbin case).
Fabric matters:
- Stretch fabrics (jersey, interlock) need a ballpoint needle to avoid skipped stitches. The rounded tip parts fibers instead of piercing them, preventing deflection.
- Thick layers (denim, canvas) demand a larger needle to push through without bending. But too large a needle leaves visible holes in fine weaves.
- The right needle is the one that sews the scrap without skipping or damaging the material. No chart can tell you that—only the scrap can.
The 7 Mechanical Causes of Skipped Stitches (And How to Isolate Each)
Skipped stitches aren’t random—they’re a mechanical signal. Your machine is telling you exactly where the stitch formation chain broke. Below is the symptom-to-cause table that turns guesswork into diagnosis. Each row maps what you see to what’s failing, what to check first, and what rules that cause out if the symptom persists.
The Diagnostic Table
| Symptom | What it means mechanically | What to check first | What rules it out |
|---|---|---|---|
| Top thread loops on underside | Needle deflection or dullness prevents hook from catching the loop | Inspect needle for bends; test with a new needle | If loops persist with a fresh needle, rule out needle |
| Stitches skip in a straight line | Hook timing is off—needle and hook aren’t meeting at the right moment | Turn handwheel slowly; watch hook path relative to needle | If hook passes cleanly but stitches still skip, rule out timing |
| Irregular skips, fabric puckers | Bobbin case damage (nicks, burrs) snags the thread loop | Remove bobbin case; inspect for wear or debris | If case is clean and smooth, rule out bobbin case |
| Stitches pile up, fabric doesn’t move | Feed dogs are worn or clogged—can’t grip fabric | Run fabric by hand; check for smooth movement | If fabric feeds smoothly, rule out feed dogs |
| Skips on dense layers only | Needle is too small or wrong type for the material | Test with a larger or specialty needle (e.g., denim) | If skips persist with the right needle, rule out needle |
| Top thread breaks or shreds | Tension too tight—prevents hook from catching the loop | Test tension with scrap fabric; adjust incrementally | If tension is balanced but skips continue, rule out tension |
| Skips start after rethreading | Thread path obstruction or misrouting | Clean entire path; rethread machine from scratch | If skips persist after rethreading, rule out path |
How to Use the Table
- Start with the symptom you’re seeing, not the part you suspect.
- The table is ordered by how quickly each cause can be ruled out:
- Needle issues take seconds to test.
- Hook timing requires a closer look.
- Work left to right: symptom → mechanical cause → first check → rule-out.
- If the first check doesn’t resolve it, move to the next likely cause in the row.
Needle Issues: The First Check
A needle is the most common culprit because it’s the most stressed part of the machine. Three things go wrong:
-
Bent or dull needles
- A bent needle deflects as it enters the fabric, pushing the loop out of the hook’s path.
- A dull point drags instead of piercing, creating a loop too small to catch.
- Test: Hold the needle up to a light.
- If the point isn’t a clean taper, replace it.
- If the shaft isn’t perfectly straight, replace it. No exceptions.
-
Wrong size or type
- A needle too small for the fabric bends under load.
- A needle too large leaves holes that destabilize the stitch.
- Universal needles are a compromise—they work until they don’t.
- For dense layers (denim, canvas), step up to a denim needle.
- For knits, a ballpoint needle prevents skipped stitches by sliding between fibers instead of piercing them.
-
Incorrect installation
- A needle installed backwards or not fully seated won’t form a proper loop.
- The flat side of the shank faces the back of the machine—check your manual for exact orientation.
- If the needle isn’t fully seated, the loop forms too high or too low for the hook to catch.
Rule-out test: Replace the needle with a new one of the correct type and size. If the symptom persists, the needle is ruled out.
Hook Timing: The 30-Second Test
Hook timing is the alignment between the needle’s descent and the hook’s rotation. When it’s off, the hook misses the thread loop entirely. You don’t need a manual to test it—just the handwheel and your eyes.
Step-by-step test:
- Remove the needle plate and bobbin case.
- Turn the handwheel slowly toward you (counterclockwise on most machines).
- Watch the hook point as it passes the needle. It should:
- Clear the needle by a hair’s breadth—close enough to hear contact if it touched, but no actual contact.
- Pass the needle after the needle starts its upward stroke.
- If the hook arrives too early or too late, timing is off.
What rules it out: If the hook passes cleanly and in the correct sequence but stitches still skip, timing is not the issue.
Bobbin Case Damage: The Hidden Snag
A damaged bobbin case (nicks, burrs, or a worn race) snags the thread as the hook carries it around. The snag disrupts the loop formation, causing irregular skips.
How to inspect:
- Remove the bobbin case and inspect the race (the curved track where the hook travels).
- Run a fingertip along the race—any roughness or sharp edges will snag thread.
- Check the tension spring for bends or wear. A weak spring can’t hold the thread taut, causing loops to form inconsistently.
Rule-out test: Replace the bobbin case with a new one. If skips persist, the case is ruled out.
Feed Dog Wear: The Silent Culprit
Worn feed dogs fail to advance the fabric smoothly, causing stitches to pile up in one spot. The symptom is subtle:
- The fabric moves, but unevenly.
- The machine sounds like it’s struggling.
How to test:
- Run a scrap of fabric through the machine by hand (no thread).
- If the fabric jerks or doesn’t move smoothly, the feed dogs are worn.
- Inspect the teeth under a light.
- Worn teeth will be rounded or polished smooth, especially at the tips.
Rule-out test: If the fabric feeds smoothly by hand, the feed dogs are not the issue.
Tension Imbalances: The Loop Killer
Too-tight top tension prevents the hook from catching the thread loop. The symptom is often misdiagnosed as a needle or timing issue because the skipped stitches look identical.
How to test:
- Start with the top tension dial at the manufacturer’s recommended setting (usually 4 or 5).
- Sew a line, then gradually decrease the tension (turn the dial toward a lower number).
- If the skipped stitches stop, the tension was too tight.
- If the top thread loops on the underside, increase the tension incrementally until the loops disappear.
Rule-out test: If tension adjustments don’t resolve the skips, tension is ruled out.
Thread Path Obstructions: The Invisible Disruptor
Lint, debris, or misrouted thread can disrupt stitch formation without any visible signs. The symptom often appears after rethreading or cleaning.
How to clean:
- Remove the needle, presser foot, and needle plate.
- Clean the entire thread path with a small brush or compressed air.
- Rethread the machine from scratch, following the manual’s diagram.
- Pay special attention to the tension discs—thread must seat fully between them.
Rule-out test: If skips persist after a full clean and rethread, the path is ruled out.
Final Rule: Isolate, Don’t Assume
Skipped stitches rarely have a single cause. The table above is your roadmap—start with the most likely culprit, rule it out, and move to the next.
Key principles:
- Test mechanically, not by guesswork.
- If you replace a needle and the symptom persists, you’ve ruled out the needle.
- If you adjust tension and the skips continue, tension is off the list.
- Work the table, and the machine will tell you what’s wrong.
How to Test Hook Timing Without a Manual (The 30-Second Check)
Photo by Elio Santos on Unsplash
Hook timing is the synchronization between the needle and hook. When it’s off, the hook misses the thread loop, causing skipped stitches. You don’t need a manual to test it—just 30 seconds and the handwheel.
The Observable Test
- Remove the needle plate and bobbin case.
- Turn the handwheel slowly toward you (counterclockwise on most machines).
- Watch the hook point as it passes the needle.
- It should clear the needle by a hair’s breadth—close enough to hear contact if it touched, but no actual contact.
- The hook should pass the needle after the needle starts its upward stroke.
Symptoms of Misaligned Timing
- Bottom thread loops on top of the fabric.
- The machine “eats” the thread or jams frequently.
- Skipped stitches in a straight line, even with a new needle.
What to Do Next
If timing is off, the machine needs professional adjustment. There’s no reliable DIY fix without the service manual’s specifications. Attempting to adjust timing yourself can lead to further damage.
Why This Matters
Misaligned timing can damage the hook and needle over time, worsening skipped stitches and other issues. Regular checks and maintenance can prevent these problems.
The Needle Decision Table: How to Choose the Right One for Your Machine
The wrong needle is the most common cause of skipped stitches. Below is the symptom-to-needle map that turns guesswork into a 30-second swap.
Symptom-to-Needle Map
| Symptom | Needle type to try | Why it works | What to rule out |
|---|---|---|---|
| Skipped stitches on knits (jersey, interlock) | Ballpoint (rounded tip) | Prevents deflection; the tip parts fibers instead of piercing them | If symptom persists, check hook timing—deflection was masking a deeper misalignment |
| Visible holes or fraying on woven fabrics (cotton, linen) | Sharp (micro-point) | Pierces cleanly without tearing; the acute point parts the weave instead of pushing it aside | If holes remain, step down one size—oversized needles stretch the weave |
| Skipped stitches on thick stacks (denim, canvas) | Denim (reinforced shaft) | Stiffer shaft resists deflection; the extra clearance prevents the point from bending mid-stitch | If stitches still skip, verify feed dog grip—thick stacks can lift the presser foot |
| Skipped stitches on non-wovens (leather, vinyl) | Leather (wedge point) | Cuts a clean hole instead of pushing the material; the chisel tip prevents deflection | If the material tears, reduce presser foot pressure—excess force enlarges the hole |
| General sewing (default for most projects) | Universal (slightly rounded) | Balanced tip works on most fabrics; the compromise point reduces deflection on knits and piercing on wovens | If stitches skip on specialty fabrics, switch to the type above—universal is a starting point, not a fix-all |
How to Verify Your Choice
- Needle packets print the type on the front—match it to the symptom in the table.
- Your manual may list recommended types for common fabrics.
- Never assume “universal” works for everything—it’s a compromise, not a cure.
When to Replace
- Needles dull after 8–10 hours of sewing, but symptoms start sooner.
- Replace if:
- You hear a popping sound (the point dragging instead of piercing).
- You see skipped stitches on fabric that sewed fine yesterday.
- You hit a pin or switch to a tougher material.
How to Tell If Your Feed Dogs Are Worn (And What to Do Next)
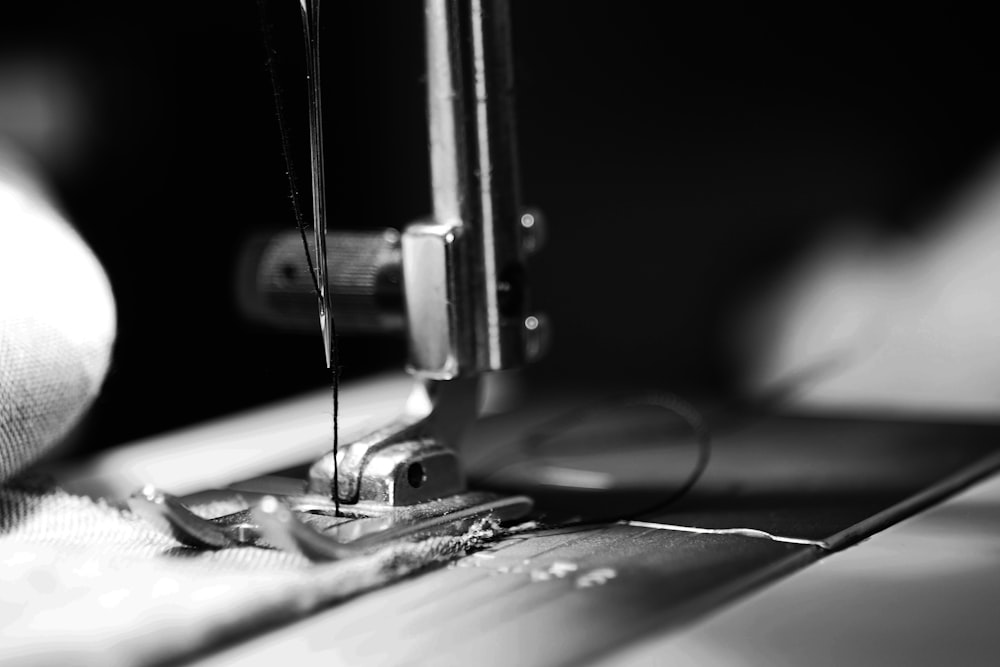 Photo by J Williams on Unsplash
Feed dogs are the toothed metal bars beneath your presser foot that grip and advance the fabric. When they wear, the fabric stalls or jerks, disrupting the needle’s path and causing skipped stitches.
The Observable Test (30 Seconds)
- Place a scrap of fabric under the presser foot.
- Turn the handwheel by hand (no thread).
- The fabric should advance steadily with each rotation.
- If it hesitates, lurches, or doesn’t move, the feed dogs are worn or clogged.
Symptoms of Wear
- Uneven stitch length, even with the stitch selector set to a consistent length.
- Fabric that doesn’t advance, forcing you to tug it manually.
- Skipped stitches in straight seams, where the needle misses the fabric because the feed dogs failed to position it correctly.
What to Do Next
-
Clean first.
- Lint buildup mimics wear. Remove the needle plate and brush out debris with a stiff-bristled brush (a toothbrush works).
- Turn the handwheel again—if the fabric now moves smoothly, the issue was lint, not wear.
-
Inspect the teeth.
- Hold a flashlight at an angle to the feed dogs.
- Worn teeth appear rounded, flattened, or missing entirely.
- Compare them to the sharp, defined edges of a new set (if you have one on hand).
-
Replace if necessary.
- Feed dogs are model-specific, but the process is straightforward:
- Remove the needle plate.
- Unscrew the old set.
- Install the new one (match the part number exactly).
- Your manual will list the correct part number—minor variations in tooth spacing can disrupt fabric feed.
- Feed dogs are model-specific, but the process is straightforward:
Why This Matters
Worn feed dogs break the mechanical chain of stitch formation. The needle relies on the fabric being in the right place at the right time. If the feed dogs fail to move it consistently, the hook misses the thread loop, and the stitch skips.
Replacement parts are inexpensive (typically under $20), and the repair takes less than 30 minutes—far less time than re-sewing a seam full of skipped stitches.
Frequently Asked Questions
Why does my sewing machine skip stitches only on thick fabric?
Skipped stitches on thick fabric are caused by the needle’s inability to penetrate properly. This happens when:
- The needle is dull or too small.
- The wrong needle type is used (e.g., universal instead of denim).
- The tension is too tight, preventing the hook from catching the loop.
Fixes:
- Use a heavier-duty needle (e.g., denim or leather).
- Reduce presser foot pressure to help the needle penetrate.
- Adjust tension incrementally and test on scrap fabric.
Can a bent needle cause skipped stitches?
Yes. A bent needle:
- Deflects as it enters the fabric, pushing the loop out of the hook’s path.
- Creates an irregular loop that the hook can’t catch.
- Always replace if you suspect bending—even a slight bend disrupts stitch formation.
How do I know if my bobbin case is damaged?
A damaged bobbin case causes:
- Irregular skipped stitches.
- Thread breakage or shredding.
- Uneven tension (bottom thread loops on top).
Inspection steps:
- Remove the bobbin case.
- Check for nicks, burrs, or cracks in the race (the curved track).
- Run a fingertip along the race—any roughness snags thread.
- Inspect the tension spring for bends or wear.
Fix: Replace the bobbin case if damaged.
What’s the difference between hook timing and needle timing?
- Hook timing = Synchronization between the hook and needle.
- If off, the hook misses the thread loop.
- Symptoms: Bottom thread loops on top, skipped stitches in straight lines.
- Needle timing = Alignment of the needle’s descent.
- Rarely adjustable on modern machines.
- Symptoms: Top thread loops underneath, irregular skips.
Both require professional adjustment if misaligned.
Why does my machine skip stitches after oiling it?
Excess oil can:
- Attract lint and debris, clogging the hook or feed dogs.
- Lubricate the thread path too much, causing the thread to slip.
- Disrupt tension if oil gets into the tension discs.
Fix:
- Use the recommended amount of oil (check your manual).
- Wipe off excess oil after oiling.
- Clean the thread path thoroughly.
Can thread tension cause skipped stitches?
Yes. Incorrect tension disrupts the stitch formation:
- Too tight = Top thread can’t form a proper loop; hook misses it.
- Too loose = Loop is too large or collapses before the hook catches it.
How to test:
- Start with the manufacturer’s recommended tension (usually 4 or 5).
- Sew a line, then adjust incrementally (up or down) and test on scrap fabric.
- Balanced tension = Top and bottom threads meet in the middle of the fabric.
Final Thoughts: The 30-Second Skipped Stitches Checklist
-
Replace the needle (most common cause).
- Use the correct type and size for your fabric.
- Test with a new needle—if skips persist, move to the next step.
-
Rethread the machine and clean the thread path.
- Remove lint, debris, or misrouted thread.
- Ensure the thread seats fully between the tension discs.
-
Test hook timing (30-second check).
- Turn the handwheel slowly and watch the hook pass the needle.
- If timing is off, consult a professional.
-
Check feed dogs for wear or lint buildup.
- Run fabric by hand—if it jerks or doesn’t move, clean or replace the feed dogs.
-
Adjust tension incrementally.
- Test on scrap fabric after each adjustment.
- Balanced tension = Top and bottom threads meet in the middle.
If the issue persists, consult your service manual or a technician for advanced diagnostics (e.g., bobbin case alignment, hook timing).
Keep reading
Want to go deeper? Read our guide on Why Bobbin Thread Bunches Underneath: Causes & Fixes.