How to Test Sewing Machine Tension on a Scrap
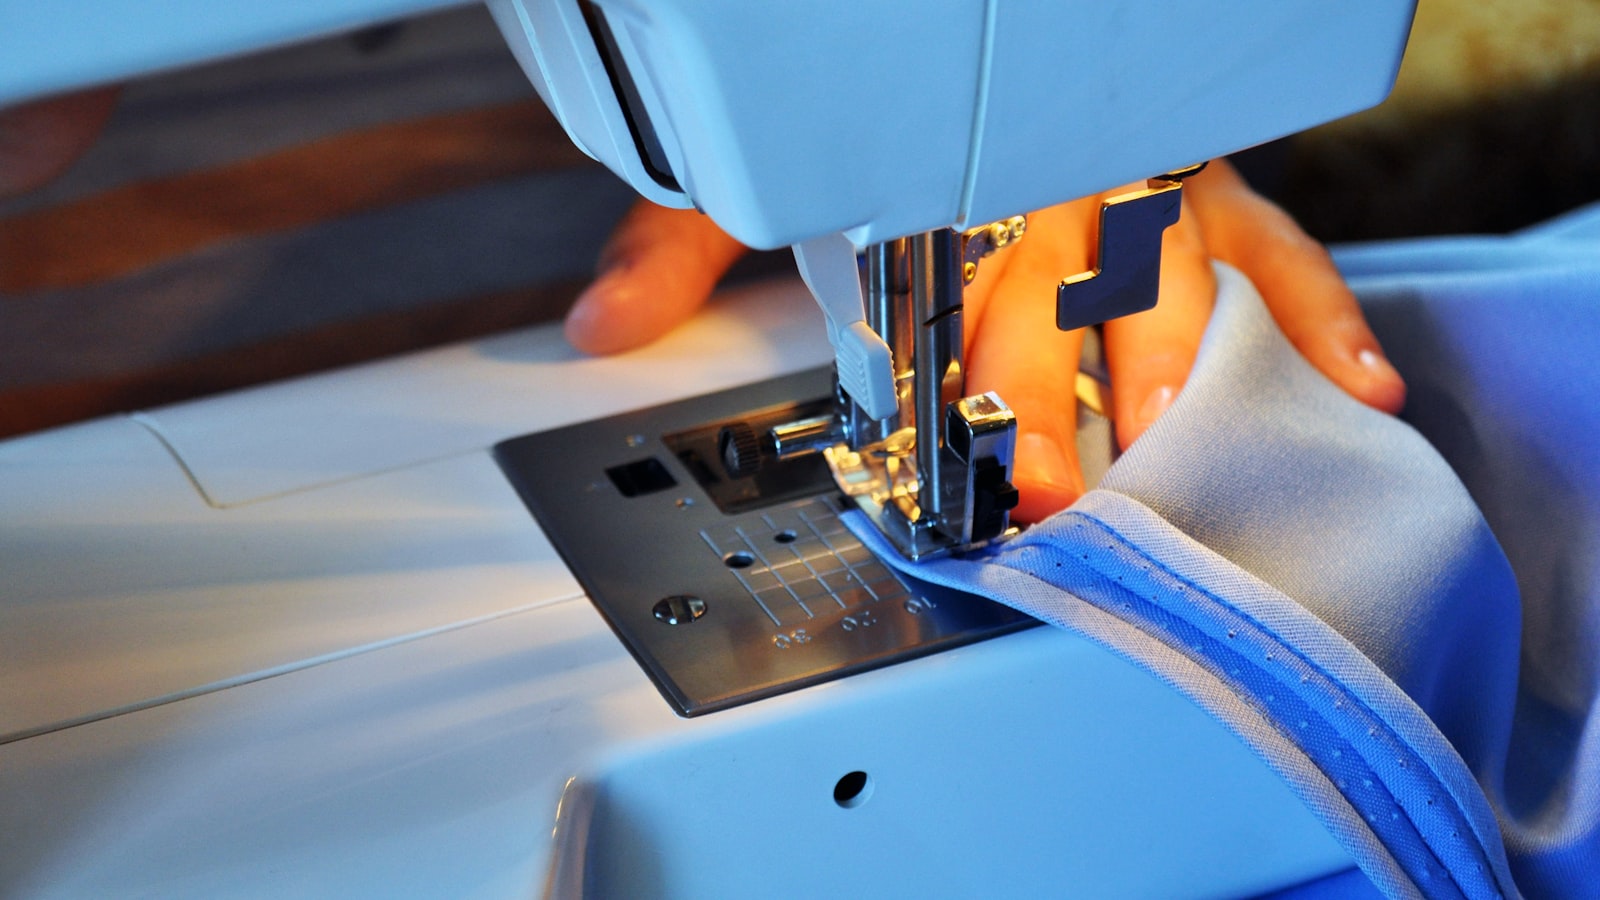
Test sewing machine tension on scrap fabric to pinpoint whether the imbalance sits in the upper thread, bobbin thread, or the mechanical alignment—no dial guessing required. A balanced stitch shows equal pull from both threads on either side of the fabric; if loops appear on top or bottom, puckering shows up, or thread snaps, you’ve found the faulty side. The scrap test isolates tension from other culprits—dull needles, damaged bobbin cases, or hook timing issues—so you can address the real problem instead of chasing the dial.
Adjust tension one click at a time, sew a fresh scrap, and check the stitch after each change; overcorrecting masks the root cause and can flip the imbalance to the other side. If the test doesn’t improve the stitch, look beyond tension—thread size, needle selection, or feed dog alignment may be the real issue, and those variables are covered in the next sections.
Key Takeaways
- Test tension on scrap fabric to diagnose whether the imbalance is in the upper thread, bobbin thread, or mechanical alignment.
- A balanced stitch shows equal thread pull on both sides; loops or puckering reveal which thread is too loose or tight.
- Adjust tension incrementally—one click at a time—to avoid overcorrecting and masking deeper issues.
- Prep your scrap correctly: Use the same fabric, thread, and needle as your project to ensure accurate results.
- Beyond tension: If adjustments don’t fix the issue, check for hook timing, needle bar height, or feed dog alignment problems.
Why the Scrap Test Beats Dial Settings for Diagnosing Tension
Tension dials are not gauges—they’re labels. What reads “4” on one machine might be “6” on another, and neither number tells you whether the thread is actually balanced. The scrap test cuts through the guesswork by showing you the mechanical reality: how the upper and bobbin threads interact under the fabric, accounting for variables like thread weight, needle size, and fabric thickness. Dial settings are the response to what the scrap reveals, not the starting point.
The Problem With Numbers Alone
Upper and bobbin tension work as opposing forces. When balanced, the threads lock mid-fabric, forming a stitch that looks identical on both sides. But if the dials were the only diagnostic, you’d chase settings blindly—adjusting the upper tension when the real culprit is a worn bobbin case, or compensating for thick thread by cranking the dial when the issue is a too-small needle. The scrap test isolates the imbalance: loops on top mean the bobbin thread is too loose, while loops underneath signal the upper thread needs tightening. No dial can tell you that.
What the Scrap Test Actually Measures
Thread tension isn’t a static value—it’s a dynamic balance. A heavier thread demands more tension to avoid sagging, while a fine thread snaps under the same setting. Needle size changes the equation too: a larger eye reduces friction on the upper thread, requiring less tension to achieve the same pull. The scrap test accounts for these variables by letting the machine show you the result, not just the dial position. Skip it, and you risk masking deeper issues (like a damaged tension disc or misaligned hook) with dial adjustments that only treat the symptom.
When Dial Adjustments Become the Problem
Over-relying on dials can turn a simple fix into a mechanical puzzle. For example, if the bobbin tension is too loose but you compensate by tightening the upper dial, you might force the needle to deflect, leading to skipped stitches or thread breakage. The scrap test reveals the root cause before you overcorrect. It’s the difference between diagnosing a misaligned hook and just turning the dial until the stitch looks right—only to have the problem resurface on the next project.
How to Prepare Your Scrap for an Accurate Tension Test
For the scrap test to reveal the real tension balance, you need a controlled setup. That starts with the scrap itself—it must mimic your project fabric, thread, and needle. Anything else turns your diagnostic into a guessing game.
Use the Same Fabric as Your Project
Use a scrap cut from the same material you plan to sew—tension behaves differently on lightweight cotton than on denim, and the scrap test only works when the fabric is identical. If your project is brushed cotton, sew on the same brushed cotton scrap. If it’s upholstery canvas, use the same canvas. The scrap isn’t just for testing—it’s the reference fabric your tension readings must match.
Match the Thread Weight and Type
Thread the machine with the exact thread you’ll use in your project. Thread weight matters: a 40wt top thread will behave differently from a 60wt, even at the same dial setting. The bobbin should be wound with the same thread, too—mixing thread weights between top and bottom creates a tension mismatch that has nothing to do with your machine’s mechanics. If your project uses a heavier decorative thread, don’t use cheap all-purpose thread for the test—that alters the balance before you even begin.
Insert a Fresh, Correct Needle
Insert a brand-new needle of the correct type and size for your fabric. A dull point doesn’t pierce cleanly, and a bent needle deflects under pressure, both of which distort tension readings. If you’re sewing denim or multiple layers, step up to a size 90/14 or 100/16 topstitch needle. For fine silks or lightweight synthetics, drop to a 70/10 or 80/12 microtex. Needle deflection is the silent saboteur of tension tests—replace it first, every time.
Clean the Bobbin Race and Tension Discs
Clean the bobbin race and tension discs before you start. Lint trapped in the bobbin case or dust caked on the discs acts like a shim, reducing tension where it shouldn’t. Use a soft brush or a lint roller—never compressed air, which can drive debris deeper. A visibly dirty race or discs skew the test before the first stitch lands.
Now you have a clean slate: identical fabric, identical thread, a fresh needle, and clear mechanics. Only then does the scrap test tell you whether the imbalance lives in the upper thread, the bobbin, or the alignment of the two. Without this prep, you’re tuning a machine that’s already fighting itself.
Step-by-Step: How to Test Sewing Machine Tension on a Scrap
 Photo by Claudio Schwarz on Unsplash
The scrap test is a mechanical diagnostic, not a dial adjustment. It reveals the actual balance of forces between the upper and bobbin threads—what the numbers on the tension dial can’t tell you. Here’s how to run it as a controlled experiment.
Sew the Test Line
Cut a 4–6 inch strip of the same fabric, thread, and needle you’ll use in your project. Set the machine to a straight stitch at medium speed—no backstitching, no decorative stitches. Sew a single line down the center of the scrap. Speed matters: too fast and the thread won’t have time to seat properly in the tension discs; too slow and the feed dogs may drag unevenly.
Read the Stitch from Both Sides
Flip the scrap over. A balanced stitch shows equal thread pull on both sides—no loops, no puckering, no visible bobbin thread on the top or upper thread on the underside. If you see loops on top, the bobbin tension is too loose (or the upper tension is too tight). If loops appear underneath, the upper tension is too loose. Puckering or thread breakage signals tension that’s too tight on one or both sides.
Adjust One Variable at a Time
Turn the upper tension dial one increment—half a number, not a full jump. Sew another test line on fresh scrap. Repeat until the loops disappear or the puckering stops. If the upper tension dial hits its limit and the stitch still isn’t balanced, the issue is likely in the bobbin case. Test bobbin tension separately, because bobbin tension is set by a screw, not a dial, and over-tightening it can distort the case.
Test for Zigzag Too
If your project uses a zigzag stitch, repeat the test with the same settings. Zigzag tension often needs separate calibration because the side-to-side motion changes how the threads lock. The same rules apply: loops on top = bobbin issue; loops underneath = upper tension issue. Puckering here usually means the upper tension is too high for the stitch width.
When to Stop Adjusting
The scrap test has limits. If you’ve adjusted the upper tension through its full range and the stitch still won’t balance, the problem isn’t tension—it’s mechanical alignment. Hook timing, needle bar height, or a bent needle can mimic tension issues. At that point, pivot to diagnostics that isolate those variables. The scrap test tells you what is wrong; it doesn’t fix everything.
What the Scrap Test Reveals (And What It Doesn’t)
The scrap test isn’t just about adjusting dials—it’s a mechanical diagnostic that maps stitch symptoms to specific parts of the machine. Loops on top? That’s the bobbin thread winning the tug-of-war, pointing to a loose bobbin tension or a damaged bobbin case. Loops underneath? The upper thread is slack, either from a dial set too low or thread that’s skipped the tension discs entirely. Puckering or thread breakage? One side (or both) is too tight, or the needle’s too small for the thread weight—step up a size and test again. No improvement after adjustments? The issue isn’t tension at all: hook timing, feed dog alignment, or needle bar height could be throwing the whole system off. And if tension wavers mid-stitch, the culprit is usually lint in the bobbin race or a nick in the needle plate, not the dials.
What the test won’t tell you is which dial number to land on. That’s because tension isn’t a setting—it’s a balance of forces, and the dials are just labels. A “4” on one machine might be a “6” on another, but the scrap doesn’t lie: it shows the result of those forces, not the label they’re hiding behind. When the symptoms point to something beyond tension—like timing or alignment—stop adjusting and pivot to the diagnostics those issues demand. The scrap test is your first clue, not the final verdict.
How to Adjust Tension Based on the Scrap Test (Without Overcorrecting)
The Stitch Chain: Presser Feet, Bobbins and Needles Explained — Once you’ve diagnosed the tension issue with your scrap test, the right presser foot, bobbin, or needle can make all the difference—no more trial and error with mismatched accessories. choose the correct presser foot for your stitch
Start with the upper tension dial. On most domestic machines, this is where tension adjustments are prioritized—because the top thread bears the primary load in straight stitches. Turn it one increment at a time while sewing your scrap. Small changes are the difference between a balanced stitch and one that hides deeper issues.
If you see loops on top after tightening, don’t keep cranking. The bobbin thread is winning the tug-of-war—time to check its side. Loosen the upper tension slightly, then adjust the bobbin case screw one-eighth turn at a time. Test after each change. If the problem worsens, reverse it immediately. Overcorrecting masks the root cause and can introduce new imbalances.
Zigzag stitches behave differently. They need looser tension than straight stitches to avoid puckering, especially on lightweight fabrics. If your scrap shows tension issues only in zigzag, adjust the upper dial down one mark and test again—not because the dial is wrong, but because the stitch type demands it.
Stop when the stitch is balanced: even on both sides, no loops visible, no puckering. If the issue persists, you’ve likely hit the limit of tension adjustments. Time to move on—hook timing, needle bar height, or feed dog issues may be interfering. The scrap test tells you when tension isn’t the problem.
When to Stop Adjusting and Diagnose Another Issue
The scrap test is a tension diagnostic, not a universal fix. If you’ve turned both dials through their full range and the stitch still loops, puckers, or skips, the problem isn’t tension—it’s something else in the machine’s mechanics. Here’s when to pivot:
The Stitch Won’t Balance at Any Setting
If the top and bottom threads refuse to meet in the middle no matter how you adjust the dials, the issue is likely hook timing or needle bar height. The hook must pass the needle at a precise moment; if it’s early or late, the stitch can’t form correctly. Needle bar height affects how deeply the needle penetrates—too high, and the hook misses the thread loop; too low, and the thread snags on the bobbin case. Both require service-manual adjustments for your specific model. The symptom is unmistakable: the stitch looks wrong everywhere on the scrap, not just in spots where the fabric bunches.
The Thread Itself Is the Problem
Cheap or old thread frays, sheds lint, or has inconsistent thickness, which throws off tension readings even when the machine is calibrated. If the thread breaks, shreds, or leaves fuzz in the tension discs, swap it for a fresh spool of the same weight and brand. The symptom: tension improves with the new thread, but the old one still misbehaves on another machine. Never assume thread quality—test it on a known-good machine first.
The Needle Doesn’t Match the Fabric or Thread
A ballpoint needle on woven fabric distorts tension by pushing fibers aside instead of piercing them, while a sharp needle on knits can snag and create false tension imbalances. The wrong size (too fine for heavy thread, too thick for delicate fabric) also skews results. The symptom: skipped stitches or visible holes in the fabric, even with balanced tension. Always pair needle type and size to the material—no chart can replace the scrap test here.
The Fabric Isn’t Feeding Smoothly
Feed dogs that are misaligned, worn, or clogged with lint prevent consistent fabric movement, making tension tests unreliable. If the scrap puckers or drags under the presser foot, clean the feed dogs and check their alignment. The symptom: uneven stitch length or fabric shifting sideways, regardless of tension settings.
Lint Is Mimicking Tension Issues
Lint buildup in the bobbin race or tension discs can create drag that feels like incorrect tension. Before retesting, remove the bobbin case and clean the race with a brush, then run a dollar bill through the tension discs to clear debris. The symptom: tension improves after cleaning, but the issue returns quickly with the same thread.
When to Stop Adjusting
If you’ve ruled out thread, needle, feed, and lint—and the stitch still won’t balance—stop turning dials.
Frequently Asked Questions About Testing Sewing Machine Tension
 Photo by Roman Spiridonov on Unsplash
Tension isn’t a single dial setting—it’s the balance between two threads under mechanical forces. If your stitches flip between balanced, looping, or puckering from one project to the next, a quick tension check can save hours of frustration. Here’s how to cut through the confusion when the most common tension questions pop up.
Can I test tension without a scrap fabric?
No—your scrap isn’t optional, it’s essential. The scrap’s job is to isolate tension from the variables that shift from one project to the next: fabric weight, weave, stretch, and needle choice. A tension test on a heavy denim scrap will yield different results than the same test on a silk scrap, even with identical thread and needle. Without a scrap that mirrors your project fabric, you’re just guessing whether the tension actually feels balanced or if another factor is hiding the symptom.
Why does my tension change when I switch from straight to zigzag stitches?
The upper tension dial only controls the top thread. In a zigzag stitch, the bobbin thread is pulled sideways, shifting the tug-of-war between the two threads. Mechanically, the upper tension has less control once the needle starts moving off-center, because the bobbin thread’s path changes with the stitch width. The wider the zigzag, the more the bobbin tension can peek through—even if your straight-stitch tension feels perfect. The scrap test works the same way; adjust your expectations accordingly when you switch stitch types.
How do I know if my bobbin tension is the problem?
Bobbin tension is the invisible hand in the stitch battle. If your top thread loops on the fabric’s underside, the bobbin thread is winning the tug-of-war. Don’t reach for the upper tension dial—check the bobbin case instead. On most machines, the bobbin tension screw is a tiny slotted screw on the bobbin case itself. Turn it one-eighth of a turn clockwise to tighten, counterclockwise to loosen, then test on the scrap. If the symptom persists after two full turns in either direction, the issue isn’t tension—it’s likely hook timing or needle deflection.
What’s the difference between upper and bobbin tension, mechanically?
Think of it like a seesaw: the upper tension dial controls the force pressing the top thread against the tension discs, while the bobbin tension is built into the bobbin case’s design. The upper tension’s job is to feed the top thread at the same rate the feed dogs pull the fabric—if it’s too tight, the thread resists the fabric’s movement; if it’s too loose, the fabric drags the thread along. The bobbin tension, however, is a fixed resistance the bobbin thread must overcome as it unspools. When the two are balanced, the stitches lock in the middle of the fabric. Any imbalance—upper too tight, bobbin too loose—shifts the battle to one side of the fabric.
Why does tension seem fine on one fabric but not another?
Fabric isn’t just thread—it’s a mechanical system. A dense weave like denim or canvas offers more resistance to the needle and feed dogs, making it harder for the top thread to pull the fabric through. A loose weave like cotton batiste or silk organza offers less resistance, so the top thread dominates. Even the same thread weight can behave differently: a 40wt cotton on denim requires more tension than the same thread on lightweight cotton because the fabric’s resistance changes the balance.
How do I fix tension issues with decorative threads?
Decorative threads like metallic or embroidery floss are thicker and stiffer than standard thread, requiring lower tension to avoid puckering or thread breakage. Start with the upper tension dial set to 3 or 4 (or the lowest setting on your machine) and test on scrap. If the thread loops underneath, increase the upper tension one increment at a time. For bobbin tension, use a heavier-weight bobbin thread (e.g., 30wt instead of 40wt) to match the decorative thread’s stiffness. Never mix thread weights—always match top and bobbin.
The Scrap Test as a Mechanical Diagnostic: Forces, Not Settings
Tension isn’t a number—it’s a tug-of-war. The upper thread pulls upward, the bobbin thread pulls downward, and the fabric sits in the middle like a referee. The scrap test reveals which side is winning (or losing) by showing you the physical evidence of imbalance: loops, puckering, or thread breakage. Here’s how to frame it as a balance of forces, not just a dial adjustment.
The Force Balance Equation
Think of tension as three competing forces:
- Upper thread tension (set by the tension discs)
- Bobbin thread tension (set by the bobbin case spring)
- Fabric resistance (thickness, weave, and needle friction)
When balanced, these forces lock the stitch mid-fabric. If the upper thread is too tight, it overpowers the bobbin thread, pulling loops to the underside. If the bobbin thread is too loose, it sags, leaving loops on top. The scrap test exposes which force is out of sync.
Diagnostic Checklist: What the Stitch Tells You
| Symptom | Mechanical Cause | Force Imbalance |
|---|---|---|
| Loops on top | Bobbin tension too loose | Bobbin thread can’t resist upper thread pull |
| Loops underneath | Upper tension too loose | Upper thread can’t resist bobbin thread pull |
| Puckering | Tension too tight (either side) | Fabric is being crushed between threads |
| Thread breaks (upper) | Upper tension too high or needle too small | Upper thread is stretched beyond its limit |
| Thread breaks (bobbin) | Bobbin tension too high or case misaligned | Bobbin thread is snagging on the case |
How to Test Like a Mechanic
- Sew a baseline stitch on scrap with no adjustments—this is your control.
- Flip the scrap and note which side shows loops or puckering.
- Adjust one force at a time:
- If loops are on top, increase bobbin tension (tighten the bobbin case screw 1/8 turn).
- If loops are underneath, increase upper tension (turn the dial up one increment).
- If puckering appears, reduce tension on the side causing it (dial down or loosen the bobbin screw).
- Sew a new test line after each change—never assume the dial or screw position is “correct” until the stitch proves it.
- Stop when the stitch looks identical on both sides. That’s the point where the forces are balanced.
When the Scrap Test Fails
If the stitch doesn’t improve after adjusting both sides, the problem isn’t tension—it’s friction or alignment. Check for:
- Needle deflection: A bent or dull needle bends under pressure, distorting tension. Replace it.
- Hook timing: If the hook isn’t catching the thread loop cleanly, tension readings will be unreliable. (Look up your machine’s manual for the “hook timing test” procedure.)
- Needle bar height: Too high, and the hook misses the thread loop; too low, and the thread snags.
- Feed dog alignment: Misaligned feed dogs cause uneven fabric pull, skewing tension tests.
Final Thoughts: The 30-Second Tension Checklist
Sew a straight stitch on a scrap of your project fabric—same thread, same needle, same settings. That scrap is your diagnostic tool, not just a dial-adjustment guide.
Examine the stitch: loops on top mean the bobbin thread is winning the tug-of-war; loops underneath point to upper tension too loose; puckering signals both threads are too tight. The symptom maps directly to the mechanical imbalance—no guesswork.
Start with the upper tension dial. Turn it one increment at a time, testing after each change. If the stitch doesn’t improve, clean the bobbin race and tension discs—lint and thread residue distort the balance. Retest.
If the issue persists, pivot to other diagnostics: hook timing, needle bar height, or feed dog alignment. The scrap test is a tension check, not a universal fix—when it stops revealing new information, the problem lies elsewhere.
Next step: Ready to eliminate the guesswork for good? Find your ideal needle and bobbin set
Keep reading
Want to go deeper? Read our guide on Sewing Machine Tension Discs: How They Work & What Goes.