Blind Hem Foot Explained: Hide Stitches Easily
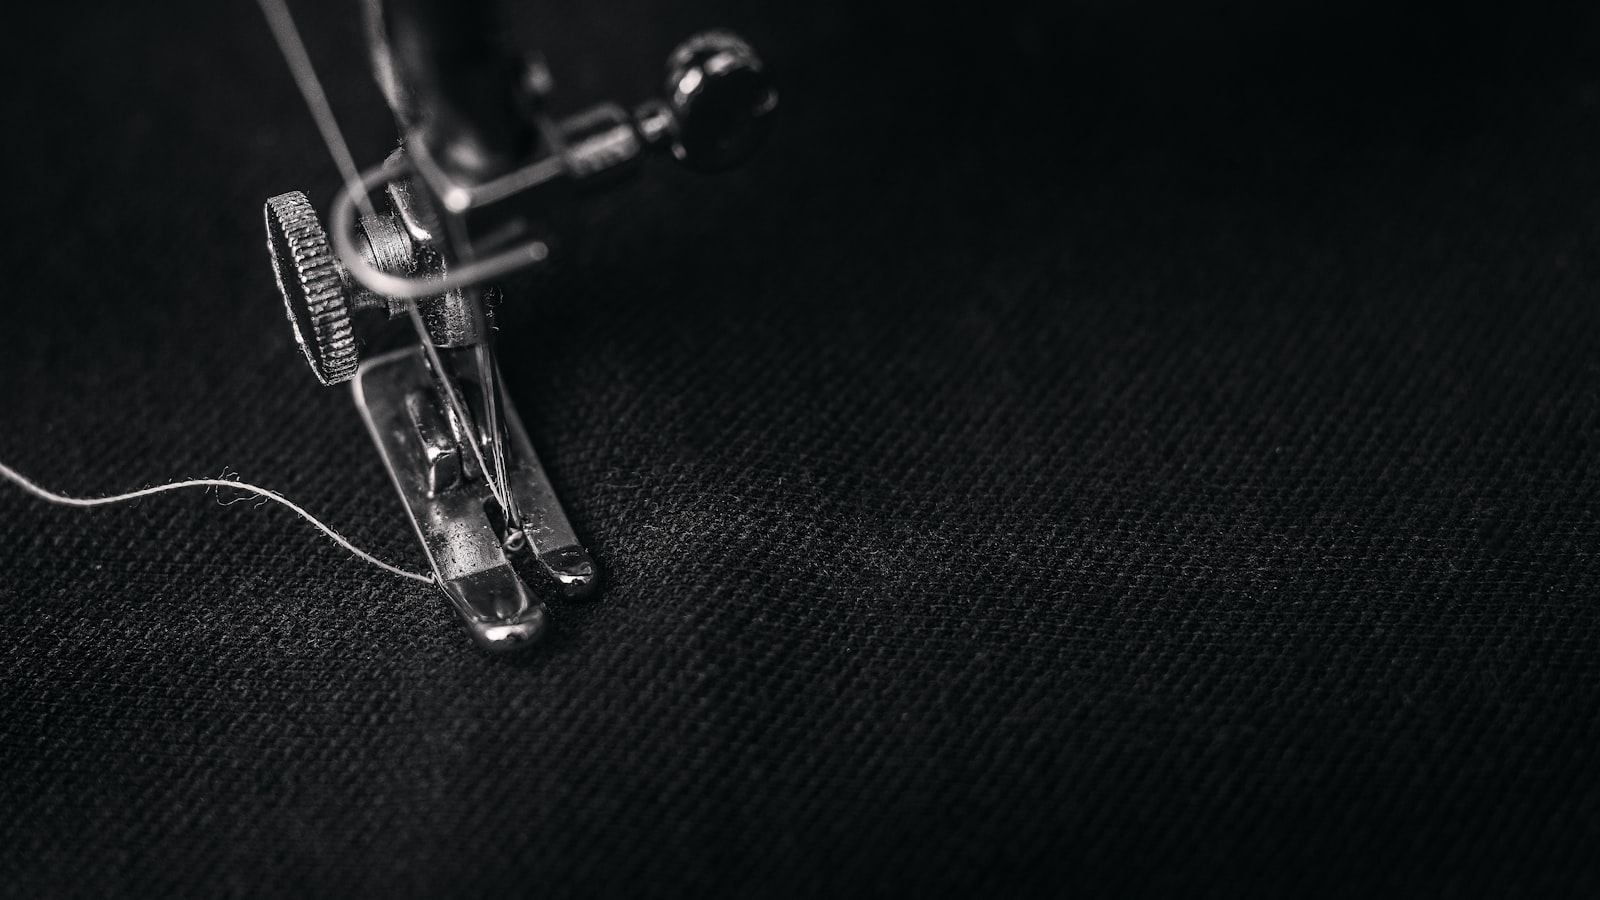
Photo by Alexander Andrews on Unsplash
Key Takeaways
A blind hem foot folds fabric at the edge, stitching only the top layer at precise intervals so the hem disappears into the fold. It’s the sewing-machine shortcut to an invisible hem without hand sewing.
The foot works by guiding the fabric into the right fold while the needle pierces only one side. Foot pressure and stitch length control how often the needle strikes, so you can dial in the look by feel rather than memorizing numbers.
Not every blind hem foot fits every machine. Shank height, guide width, and fold depth differ by model and fabric weight, which is why matching the foot to your setup matters.
Two mechanical settings, not spec sheets, decide success: foot alignment and stitch length. Adjust them until the hem lies flat and the stitches stay hidden.
No dedicated foot? A zigzag stitch and careful pinning can fake the same invisible hem with the presser foot you already own.
What to Check Before You Choose
Use this table to decide whether a blind hem foot is right for your setup and fabric before you buy or sew.
| Criterion | Why it decides the outcome | How to check it yourself | Red flag |
|---|---|---|---|
| Shank height | A mismatch lifts or rocks the foot, causing uneven feed and skipped stitches. | Lift the presser foot and compare the shank’s height to your machine’s standard foot. | The foot rocks or drags unevenly when lowered. |
| Guide width | A narrow guide pushes the fold too close to the raw edge, exposing stitches on the right side. | Fold the raw edge to your planned hem width and check if the guide can contain the fold. | The fold spills past the guide’s edge mid-stitch. |
| Fold depth | A shallow groove collapses the fold under tension, letting stitches pull the layers apart. | Run the machine with scrap fabric and watch if the folded edge flattens or shifts mid-stitch. | The fold collapses or the stitches pull it open. |
| Needle alignment | Misalignment causes a muffled rhythm, skipped beats, or a needle that misses the fold entirely. | Listen for a rhythmic metallic “click” that matches the stitch cycle. | The rhythm changes mid-seam or sounds muffled. |
| Foot pressure | Too light lets layers slide; too heavy flattens the fold and exposes stitches. | Sew on scrap fabric and adjust pressure until the material glides smoothly without bunching. | The fold flattens or layers drift. |
| Stitch length | Short stitches pucker; long stitches leave gaps where the raw edge peeks through. | Test on scrap fabric until the hem stays flat when pressed. | The fold pops open or puckering appears. |
| Thread tension | Upper tension that’s too tight pulls stitches to the hem’s surface; too loose gathers the fold. | Adjust until the stitches settle into the fold without pulling to the front. | The stitches migrate to the hem’s surface or the fold gathers. |
How a Blind Hem Foot Actually Hides the Stitch
A blind hem foot tucks the fabric’s raw edge inward before the needle descends, turning the raw edge into a fold that only the needle’s top layer sees. The foot’s curved groove acts like a ramp, guiding the fabric so the needle pierces just the fold’s edge, skipping the layers underneath. When pressed open, those stitches disappear between the hem’s layers, leaving no mark on the visible side.
The key to invisibility lives in alignment. A built-in guide—often adjustable—sets how far from the raw edge the stitch line lands, usually within arm’s reach (the 1/8” to 1/4” range shrinks or grows with fabric thickness). When the guide is off, the stitch line creeps too close to the fold’s edge or too far from it, and the hem’s secret disappears. The needle itself is just the messenger here; it only works if the fold arrives in the right place.
Timing matters too. The take-up lever’s motion must sync with the foot’s feed timing, or the fabric fold collapses mid-stitch, leaving a visible pucker where the layers failed to stay put. Stitch length and foot pressure team up as well: a stitch too long skips the fold entirely, while one too short bunches the fabric, forcing the needle to hunt for space instead of riding the fold’s edge.
The foot’s groove is the gatekeeper—curved or angled, it sets the fold’s depth and angle before the needle arrives. Without that precise fold, the stitch can’t hide. The fabric’s behavior under the foot tells the real story: if the fold collapses or the stitch line wanders, the foot’s shape isn’t matching the fabric’s thickness or the guide isn’t set for the job.
The 4 Settings That Control a Blind Hem’s Success
A blind hem only vanishes when four knobs are tuned by feel—not by memory. Foot pressure, stitch length, needle choice, and thread tension each push the hem toward invisibility or pull it into view. Learn the symptom of every misstep, and you’ll spot the fix without a manual in sight.
Foot pressure decides whether the fabric folds stay crisp or collapse under the seam. Too light, and the layers slide instead of stacking; too heavy, and the fold flattens, exposing stitches on the hem’s outer edge. Find the spot where the material glides smoothly beneath the foot without bunching or rocking. If the fold flattens, ease up on the pressure; if the layers drift, tighten slightly until they hold their place.
Stitch length locks the hem in place—or lets it unravel. Short stitches (anything tighter than the widest setting on your dial) hug the fold, but go too short and the fabric puckers. Long stitches (anything more open than the midpoint) leave gaps where the raw edge peeks through. Test on scrap fabric until the hem stays flat when pressed. If the fold pops open, shorten the stitch. If puckering appears, lengthen it slightly—just enough to ease the tension.
Needle size and type determine whether the thread pierces cleanly or tangles at the edge. A sharp needle (the universal default on most machines) works for woven fabrics, but denser weaves may need a finer point. Switch to a ballpoint or stretch needle for knits—the rounded tip pushes fibers aside instead of snagging them. If the needle deflects or skips stitches, step up in size or try a specialty needle designed for your fabric’s weight.
Thread tension finishes what the other settings start. Upper tension should feel slightly looser than your usual setting so the bobbin thread can pull the top thread into the fold. Too tight, and the stitches migrate to the hem’s surface, bold and visible. Too loose, and the fold gathers. Listen for a smooth hum from the machine—any chatter or jerking means the tension is fighting the fabric. Adjust until the stitches settle into the fold without pulling to the front.
How to Tell If Your Blind Hem Foot Fits Your Machine (No Manual Required)
The Stitch Chain: Presser Feet, Bobbins and Needles Explained — If you’re still guessing which foot or needle matches your fabric, a quick reference guide can save you from trial-and-error stitches and skipped seams. learn how to match feet to fabric
Before you sew, verify the fit. A blind hem foot that’s slightly off in height, width or alignment will show its mistakes immediately — skipped stitches, a hem that refuses to hide, or fabric that bunches instead of folds cleanly. The right fit isn’t about fancy branding; it’s about the foot sitting flush, guiding the fold where it belongs, and letting the needle strike the fold at the right depth. Run these four checks on scrap fabric before you commit to your hem. If any fail, the foot’s class or size is wrong for your machine — or for your fabric.
1. Shank Height: Does the Foot Sit Flush?
Lift the presser foot and compare the shank’s height to your machine’s standard foot. A blind hem foot that’s even a millimetre taller or shorter will sit unevenly on the feed dogs, causing the fabric to drag unevenly or the stitches to skip. The symptom? The hem gathers in spots, or the feed dogs leave visible marks on the underside. If the foot rocks when lowered — not just tilts, but actually lifts at one edge — the shank height doesn’t match. Swap it for a foot whose shank matches your machine’s standard foot’s height exactly.
2. Guide Width: Is the Hem Fold Protected?
Look at the guide — the raised ridge or channel that holds the fabric fold. If the guide’s width is narrower than your intended hem allowance, the fold will sit too close to the raw edge, exposing stitches on the right side. This is especially common on vintage machines, where blind hem feet were designed for narrow hems only. Hold the foot against your fabric scrap, fold the raw edge to your planned hem width, and see if the guide can contain the fold without forcing it. If the fold spills past the guide’s edge mid-stitch, the guide is too narrow for your design.
3. Fold Depth: Does the Groove Hold the Fabric?
Run the machine with scrap fabric at your usual speed. If the folded edge flattens or shifts mid-stitch, the foot’s groove is too shallow for your fabric weight. Heavy denim needs a deep groove to keep the fold crisp; lightweight chiffon needs a shallow one to avoid crushing the fibers. The symptom isn’t subtle: the fold collapses, or the stitches pull the fold open instead of catching only the top layer. If the groove can’t hold the fold’s shape under tension, the foot isn’t built for your fabric.
4. Needle Alignment: Does the Rhythm Stay Clicking?
Listen as the needle pierces the fold. A rhythmic, metallic ‘click’ that matches the stitch cycle means the foot’s alignment is spot-on. A muffled thud, a skipped beat, or a rhythm that changes mid-seam means the needle isn’t striking the fold consistently.
Which Fabric Weight Needs Which Blind Hem Foot
 Photo by PJ Wallace on Unsplash
The blind hem foot you pick should match the fabric you sew—not the brand of your machine. Match the guide width and groove depth to the fabric weight, then confirm the foot’s shank height and pressure spring match your machine’s standard. Do that, and the hem will vanish without crushing fibres or skipping stitches.
Lightweight fabrics: silk, chiffon, georgette
Choose a blind hem foot with a narrow guide—think of the fold it creates as a whisper-thin crease barely wider than the raw edge. The groove in the foot should be shallow enough to let delicate fibres slide without flattening or fraying. Before you sew, verify that the foot’s shank height matches your machine’s standard; anything higher or lower will throw the needle path and pull the hem into view. If the foot’s pressure spring is too stiff, the delicate layers will pucker rather than fold cleanly.
Medium-weight fabrics: cotton, linen, quilting cotton
Most home machines handle these fabrics with a medium guide and a groove of moderate depth—wide enough to accept a clean fold without crushing weave, deep enough to let the layers settle into place. Keep an eye on the pressure spring: if it fights against the fabric’s natural spring-back, the hem will roll instead of lie flat. A well-matched foot will glide without leaving a visible groove or dragging the fabric past the needle.
Heavyweight fabrics: denim, canvas, upholstery
Reach for a reinforced blind hem foot with a wide guide and a deep groove—picture a crease that feels almost quarter-inch wide when you pinch the hem. The reinforced construction prevents flex under thick layers, and the deep groove gives the folded edge room to nest without bunching. Always test on a scrap first; if the foot drags or the feed dogs slip, the groove may need a touch of lubrication or the foot’s alignment may be off. Skipped stitches on denim often trace back to a groove that’s too shallow for the thickness.
Stretch and knit fabrics
Skip the standard blind hem foot if you’re working with knits. Instead, look for a ballpoint blind hem foot designed to glide between fibres without piercing them. If one isn’t available, switch to a walking foot to prevent skipped stitches on stretchy edges—blind hemming knits without the right foot almost always pulls the hem into view or leaves visible loops.
Quick checklist before you buy
- Match the guide width to your fabric’s fold: narrow for silks, medium for cottons, wide for heavyweights.
- Verify the foot’s shank height matches your machine’s standard by comparing it to your current foot.
- Test the pressure spring: it should let the fabric settle without fighting the fold.
- For knits, prioritise a ballpoint blind hem foot or a walking foot over a standard blind hem foot.
What to Check Before You Buy a Blind Hem Foot
A blind hem foot is only as good as the four checks you run before it hits the fabric. Skip any one of them and the hem stops being invisible — or the foot stops moving altogether. These checks are the same whether you’re ordering a replacement or trying out a new-to-you foot from a swap meet; they turn “will it work?” into “it will work, or you’ll know why not.”
Shank Height Must Match Your Machine’s Standard Foot
The shank is the foot’s spine — the metal prong that slides under the presser foot holder. If it’s too tall, the foot won’t seat fully; too short and it slides side to side. Either way, the feed dogs lose grip and the seam puckers. Lift your current foot and place the new one side by side: the shanks must look identical in height and profile. A mismatch shows up the moment the presser bar lowers — the foot tilts, or the needle misses the fold entirely.
Guide Width Has to Cover Your Hem Allowance
The guide is the raised ridge that folds the fabric edge. Pick a guide that’s the same width as the hem you actually sew — measure the scrap you saved when you marked the fold. A guide narrower than that allowance lets stitches show through; a guide wider than the allowance wastes fabric and makes precise folds impossible. Hold the foot against the scrap and eyeball the guide: if it looks like the hem edge will sit just inside the guide’s walls, you’re close enough.
Groove Depth Needs to Handle Your Fabric Weight
The groove lets the folded edge ride under the foot without collapsing. On lightweight cotton the shallowest groove is fine; on denim or upholstery it needs more depth so the fold stays crisp mid-stitch. Run a quick scrap test: lower the needle into the fold and watch what happens. If the fold flattens or the fabric drags instead of gliding, the groove is too shallow. If the fabric bunches or the hem edge rolls under itself, the groove is too deep.
Pressure Foot Spring Tension Sets the Fabric’s Mood
The spring tension is what keeps the fabric flat against the foot. Too stiff and delicate synthetics get crushed; too loose and the fabric slips, leaving visible stitches. Press the fabric against the foot with your hand while test-stitching on a scrap. If the fabric slips or the foot leaves permanent marks, the spring is bottoming out. Adjust the presser foot pressure screw if your machine has one, or swap to a foot with a lighter spring.
Material and Finish Predict How Long the Foot Lasts
Metal feet shrug off heat and abrasion; plastic feet warp under repeated ironing or hot presser feet. Inspect the underside for scratches or discoloration — repeated use leaves a polished track or a slight lip you can catch with a fingernail. If the finish is chipped or the groove edges are rounded, the foot has already started to age. A worn foot can still sew, but it will hunt for the fold instead of guiding it.
How to Sew an Invisible Hem Without a Blind Hem Foot
You don’t need a blind hem foot to sew an invisible hem—but you do need to work with the stitches and fabric, not against them. The trick is hiding the stitches in the folds of the fabric itself. Start with a narrow zigzag stitch (width about 1.5, length around 2.0) and sew 1/8” from the raw edge. Trim the excess fabric close to the stitch line, then press the hem allowance under twice to create a double fold. Stitch through both layers with a straight stitch, keeping just 1/16” from the inner fold. Knits need a stretch stitch or narrow zigzag, and pinning the hem allowance to the garment before stitching prevents stretching.
The zigzag’s “teeth” will disappear between the folds if you test on scrap fabric first and adjust the stitch width until they’re hidden. The hem’s invisibility comes from the fold covering the stitch line—not from the stitch itself. If you see the stitches peeking through, shorten the zigzag width or lengthen the stitch. The scrap fabric tells you when it’s right; no chart or spec sheet can.
Frequently Asked Questions
Ever wonder why your blind hem foot skips stitches on denim but not cotton? The culprit is the foot’s groove depth versus the fabric’s thickness. Denim’s tight weave resists the foot’s pressure, so the groove must bite deeper to grip the layers without forcing the needle to fight the fabric. If the hem jumps stitches on denser materials, the groove isn’t deep enough to anchor the fabric while the needle pierces cleanly.
Why does my blind hem foot skip stitches on denim?
Grab a scrap of your denim and run a test hem. If the foot skips, the groove is too shallow for that fabric weight. The foot’s guide should nestle into the fold of the hem without flattening the material, leaving just enough resistance for the needle to catch the back layer. Switch to a foot with a deeper groove or adjust your fabric handling—crease the hem sharply before stitching so the needle meets a consistent resistance in the fold.
Can I use a blind hem foot on a serger or overlocker?
No. A blind hem foot is a presser foot attachment for a domestic sewing machine’s walking or feed mechanism.
Final Thoughts
A blind hem foot’s real trick isn’t in its brand or price tag — it’s in matching the foot’s groove depth, guide width, and shank height to the fabric in your hands and the machine under your needle. Default to a medium-width guide and a shallow groove for woven cottons and synthetics, and dial in the guide’s position by feel until the fold conceals the stitches without puckering the fabric.
If your machine didn’t ship with a blind hem foot, hunt for a reinforced metal foot that has an adjustable guide; that single feature edges you closer to invisible stitching without resorting to hand sewing. Test every tweak on the same scrap you’ll hem: thread, needle, and fabric must travel together before you commit to the finished piece.
Next step: Ready to stop second-guessing your presser feet and needles? avoid costly sewing mistakes with the right tools
Keep reading
Keep exploring the topic with these related guides: