How the Take-Up Lever Builds Every Stitch: The 3 Hidden Mechanics
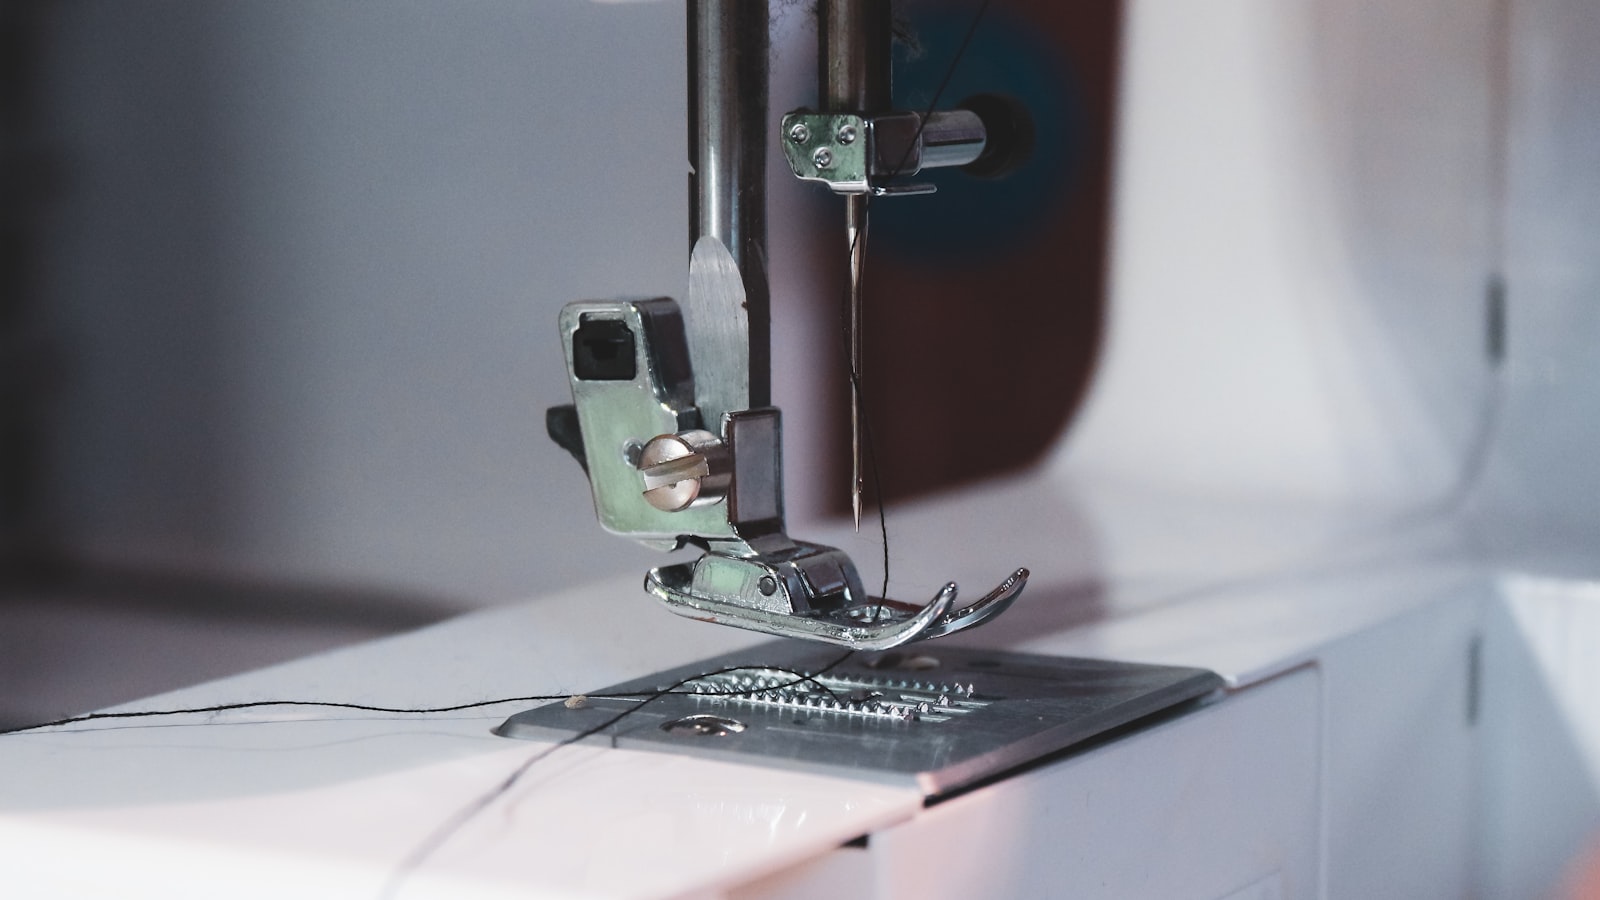
Photo by Compagnons on Unsplash
Disclosure: Some links below are affiliate links. If you buy through them we may earn a small commission at no extra cost to you. This never affects our recommendations.
Key Takeaways
The sewing machine take-up lever’s main job is regulating thread tension and synchronizing the needle’s up-and-down rhythm with the feed dogs and bobbin hook. Without it, stitches tangle, skip, or pull unevenly.
Each stitch relies on three distinct phases: the lever pulls the thread up after the needle descends, pauses to let the feed dogs advance the fabric, and drops the thread back down to tighten the loop. One missed beat in this cycle means a skipped stitch or a jammed thread path.
You can diagnose its health in 90 seconds by turning the handwheel by hand and watching the thread’s path. If the lever’s motion isn’t smooth or the thread snags mid-cycle, the lever or its timing is off—even if the bobbin case, feed dogs, or needles seem fine.
Mis-timed levers don’t announce themselves clearly. A worn or misaligned lever can mimic other problems—bobbin tension errors, feed dog faults, or even needle strikes—sending you on a wild diagnostic chase. Correctly identifying the lever’s role stops hours of unnecessary troubleshooting.
One absolute: don’t adjust the lever’s travel distance or shape. Your machine’s design dictates these dimensions—focus instead on adjusting the thread path, tension settings, and timing around it to match its fixed motion.
Part of our complete guide: for the full picture, see What Causes Seam Puckering When Sewing? The Mechanical Breakdown.
What the Take-Up Lever Actually Does in One Stitch Cycle
A single stitch isn’t one straight motion—it’s a carefully timed dance between needle, thread, and lever. The take-up lever doesn’t just move the thread; it orchestrates tension and timing in three distinct phases, each with a precise mechanical role. Watch the thread path between spool and needle eye during these phases, and you’ll see the lever’s invisible hand at work.
Phase 1: Pull-Up (Needle Descending)
As the needle plunges downward, the take-up lever rises, pulling fresh thread from the spool and feeding it toward the needle eye. This moment is the only time the top thread moves down toward the fabric—not when the needle goes down, but when the lever pulls the thread behind it. If you pause the handwheel mid-stitch, you’ll notice the thread slack has increased slightly here; that slack is the raw material for the next stitch.
The feed dogs are also moving during this phase, but their job is purely to advance the fabric—not to pull the thread. The lever’s pull-up action is what ensures the needle has enough thread to catch during its descent.
Phase 2: Pause (Needle at Bottom)
When the needle reaches its lowest point, the take-up lever holds the thread at its highest tension point—briefly. This pause is the instant when the top thread is under its least tension, giving the bobbin hook a clear window to catch the loop and begin forming the stitch. If the lever drops too early or rises too late here, the hook misses the thread entirely.
This is the moment where the lever’s timing directly affects stitch quality. A fraction of a second off and the loop either snaps tight too soon or remains too slack, pulling the bobbin thread to the top—or leaving it buried underneath.
Phase 3: Drop-Down (Needle Rising)
The lever’s descent is where the stitch tightens. As the needle withdraws from the fabric, the lever drops, taking slack out of the top thread and drawing the two threads together into a locked stitch. This is also when the feed dogs advance the fabric—their movement comes after the lever’s drop-down, not before. If you watch the thread between spool and needle eye, you’ll see it tighten only when the lever lowers, never while the needle is still moving.
Mis-timing here is the most common cause of skipped stitches or erratic tension. If the lever drops too quickly, it yanks the thread through before the bobbin loop forms; too slowly, and the stitch sits loose or pulls the bobbin thread to the top.
Quick check: Turn the handwheel slowly by hand and watch the thread path. The thread should only tighten when the lever drops—never during the needle’s downward motion. If it tightens early, the lever is running ahead of schedule. If it never tightens smoothly, the lever may be binding or worn.
Why the Take-Up Lever Controls Tension More Than You Think
The upper tension discs set a fixed resistance on the thread, but they don’t control when that resistance matters. That timing is the take-up lever’s job. Its motion creates the dynamic tension curve that tightens the stitch at the exact moment the bobbin hook releases the thread. Without that precise timing, the top thread stays loose during the pause phase—letting the bobbin thread pull through and form loops on the underside. Sluggish travel or mis-timed movement turns a correctly set tension into a messy one, even if the discs themselves are spotless.
Run a quick handwheel test: with the presser foot up and the needle threaded, turn the wheel slowly by hand. Watch how the thread tightens only when the lever rises—never before, never after. If you see tension build too early, the lever’s travel is too steep. Too late, and the top thread loosens just as the bobbin hook should disengage. Either way, the symptom is the same: loops on the underside or skipped stitches, even though the discs themselves haven’t moved. The upper tension discs set the average pull, but the lever sets the pulse—and a mismatched pulse breaks the stitch regardless of the average.
Compare it to the bobbin case. The bobbin tension spring sets a baseline drag, but it’s the hook’s timing that decides when that drag matters. The take-up lever does the same for the top thread: it doesn’t change the amount of tension, but it dictates the exact instant the thread tightens around the bobbin loop. Two machines set to the same upper tension can sew completely different stitches if their lever timing is off. The discs regulate resistance; the lever regulates rhythm. Miss the rhythm, and the resistance never gets a chance to do its job.
If the lever’s motion is correct, the thread tightens the moment the hook releases it—sealing the stitch cleanly. If the motion is slow or starts too early, the top thread pulls before the bobbin thread is locked in place, leaving a loop. Too late, and the bobbin thread pulls the top thread down with it, creating loops on the fabric’s surface. Either failure looks like a tension problem, but it’s really a timing problem—one the lever alone can fix.
This is why tension adjustments often feel like chasing ghosts. The discs are easy to blame, but the lever’s travel is the hidden variable. Before you tweak the discs, check the lever’s motion against the stitch cycle. The fix might be as simple as cleaning the cam or lubricating the pivot—no adjustment required.
The Two Types of Take-Up Lever (And Why Your Machine Uses One)
 Photo by Gabriel Santos on Unsplash
Most sewing machines fall into one of two mechanical families for the take-up lever. The difference isn’t in brand or model—it’s in how your lever moves through the stitch cycle. A lever that travels straight up and down in a milled slot is built for simplicity; a curved-path lever trades that simplicity for smoother operation and tighter timing. Neither is inherently “better”—they’re designed for different jobs.
The straight-line lever is the older design, found in vintage and many domestic machines. It rides in a vertical slot, pushing and pulling thread in a simple reciprocating motion. Over time, the slot edges wear where the lever contacts them, widening the thread path and letting the thread sit looser in the path. That slack shows up as inconsistent stitch tension—especially visible on densely woven fabrics—as the lever’s guidance grows sloppier with each passing week.
Modern high-speed machines favor the curved-path lever. Instead of a slot, it follows an arcing guide that matches a cam profile inside the machine. This arc keeps the motion smoother and reduces side-to-side slop in the thread path. But it requires precise timing between the cam and the needle bar—mis-time it and the lever can’t feed thread at the right moment in the cycle, creating thread breaks or poor stitch formation. The wear here shows differently: the pivot starts to wobble side-to-side instead of up and down. Once that wobble appears, the lever’s timing drifts, and so does the quality of every stitch.
You can’t swap one class for the other. The lever’s shape is machined to match the cam profile your machine expects; forcing the wrong type in will bind immediately or wear out faster than you can sew a single seam. To tell which your machine has, simply look at the lever’s path. If it moves straight up and down inside a milled channel, that’s your Class A lever. If you can see a visible curve in its motion—or if the lever itself is shaped like an arc—you’ve got a Class B lever working inside a cam-guided track.
How to Tell If Your Take-Up Lever Is Failing (No Manual Required)
A failing take-up lever doesn’t announce itself with a bang—it shows up in the thread’s hesitation. The lever’s job is to tighten and release the upper thread in perfect sync with the needle’s motion, and when that timing slips, the stitches reveal it. You can spot the trouble without a manual, using tools you already have: your hand and a scrap of fabric.
Step 1: The Handwheel Test — Watch the Thread’s Pulse
Turn the handwheel toward you slowly, one full rotation at a time. Focus on the thread between the spool and the needle. As the needle descends, the thread should stay loose—no resistance. Only when the lever drops (Phase 3 of the stitch cycle) should the thread tighten. If you feel tension while the needle is still moving, the lever is acting too soon. The symptom: the thread jerks at the wrong moment, pulling the fabric unevenly.
Step 2: Travel Distance Check — Is the Lever Fully Extended?
With the needle at its lowest point, the take-up lever should reach its highest. If it doesn’t, the lever’s travel is shortened—either from a worn cam or a bent lever arm. Watch the lever’s top edge: it should clear the slot’s midpoint by a finger’s width when the needle is down. Anything less and the lever can’t pull enough slack, so the thread stays too loose during the stitch’s critical moment.
Step 3: Side-to-Side Slop — The Pivot and Slot Speak Up
Hold the handwheel still. Gently wiggle the lever side-to-side. Any play in the pivot means metal wear; any roughness in the slot means edge erosion. A worn pivot lets the lever tilt slightly off-center, throwing off the thread’s path. A grooved slot snags the thread, creating friction that the upper tension discs can’t compensate for. Either way, the result is uneven tension—loops on the underside or thread breaks.
Step 4: Stitch Test — The Fabric Doesn’t Lie
Sew on a scrap of medium-weight fabric with the upper tension set low. The thread’s behavior tells the story:
- Loops on the underside? The lever is dropping too late—it’s releasing the thread after the needle has already pierced the fabric, so the bobbin thread pulls through unchecked.
- Top thread pulls loops to the bottom? The lever is dropping too early—it’s over-tightening the upper thread before the stitch is formed, dragging the top thread down.
If all four checks pass—smooth handwheel motion, full lever travel, no slop, and clean stitches—the problem isn’t the lever. Check the bobbin tension, feed dogs, or needle timing next.
The take-up lever’s failure isn’t subtle, but it’s often misdiagnosed as a tension issue elsewhere. Run these checks first: they take 90 seconds and isolate the lever’s function from every other variable. If the lever passes, you’ve ruled out one of the most common culprits—before you touch the tension dials.
What to Check Before You Replace or Adjust Anything
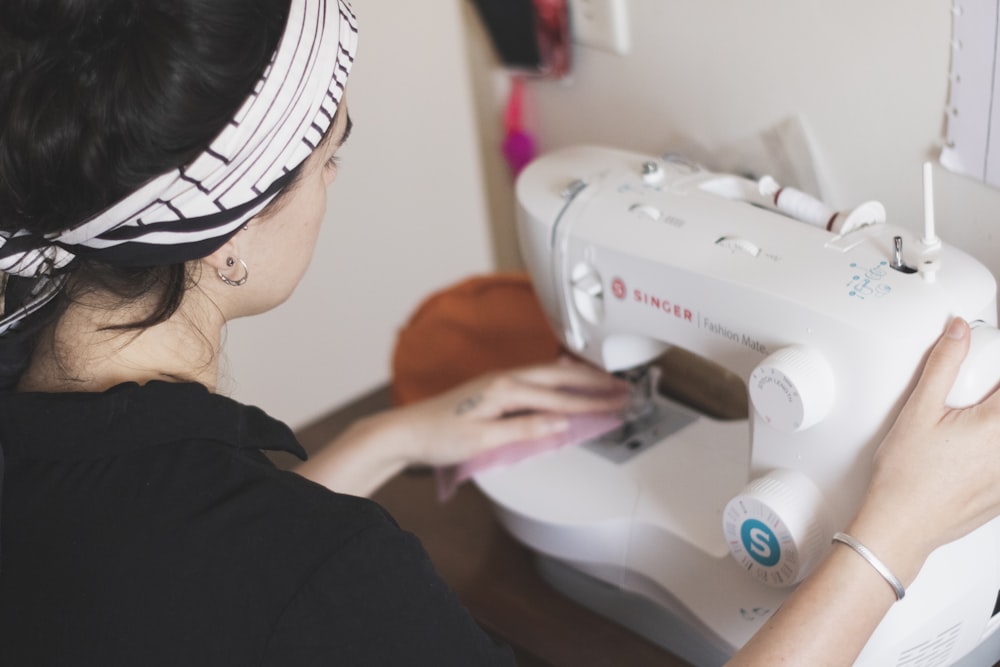 Photo by Marília Castelli on Unsplash
The take-up lever isn’t just moving thread—it’s the machine’s thread traffic controller. Before you reach for a screwdriver or order a replacement, verify these five signs your lever is the real culprit.
1. Lever travel distance
Why it matters: A short travel distance means the lever isn’t pulling thread up far enough, which can leave loops on the underside or skipped stitches. How to check: Turn the handwheel toward you until the needle reaches its lowest point. Measure the distance between the needle eye and the lever eye in both positions—fully down and fully up. The lever should reach the top mark on the arm. Red flag: The lever doesn’t reach the top mark. If the gap is too small, the lever may be worn at the pivot or cam.
2. Cam profile smoothness
Why it matters: A rough or notched cam profile jerks the thread instead of guiding it smoothly, which can cause thread breaks or inconsistent tension. How to check: Rotate the handwheel by hand while running your fingertip along the cam surface. The cam should feel smooth—no grit, notches, or sudden catches. Red flag: The cam feels jagged or catches at certain points. That’s a sign the cam is worn and needs attention.
3. Pivot play
Why it matters: Side-to-side slop at the pivot lets the lever move unpredictably, which translates into erratic tension and skipped stitches. How to check: Hold the handwheel steady and gently wiggle the lever side to side. Red flag: The lever moves more than a barely perceptible wiggle—about the width of a fine hair. Once it wobbles, the taper is already inconsistent.
4. Thread path clearance
Why it matters: If the lever rubs against the housing or other parts, it frays the thread and can shred it mid-stitch. How to check: While sewing, watch the thread path closely. Listen for a faint scratch or feel for resistance as the lever moves. Red flag: Thread shows abrasion, or fluff accumulates on the lever. The lever is rubbing where it shouldn’t.
5. Timing mark alignment
Why it matters: Misaligned timing makes the lever eye miss the needle eye at the critical moment, mimicking tension errors. How to check: Turn the handwheel until the needle is down. Align the lever eye with the needle eye—it should be dead center, with no gap larger than the thread thickness. Red flag: The needle hits the lever or the lever eye is off by more than you can comfortably fit a single thread between them. That’s a setup issue, not a lever failure—but it feels the same to the stitch.
Run through these checks in order. If the problem isn’t here, the lever likely isn’t the cause.
Frequently Asked Questions
Can I adjust the take-up lever travel distance myself? No. The travel distance is determined by the cam profile the lever follows—it’s not an adjustable setting. If the motion feels off, the cam or the lever’s slot is worn, not mis-set.
Why does my lever feel stiff even when it’s not worn? Stiffness usually comes from dried oil or lint packed into the pivot, or from a misaligned cam profile chewing against the lever’s slot. Clean the pivot and check the cam for burrs before suspecting the lever itself.
How do I know if the problem is the lever or the cam? Run the 90-second handwheel test: If the lever binds in one spot and the cam shows a polished groove or a lip you can catch with a fingernail, the cam is likely the culprit. A worn lever slot will let the lever wobble side-to-side when you rock the handwheel by hand.
What happens if I oil the lever pivot every time I service the machine? Over-oiling the pivot attracts lint and forms a gritty paste that stiffens the motion faster than it lubricates. Use a single drop of sewing-machine oil once or twice a year—if the lever feels gritty, clean it first, then oil lightly.
Is a curved-path lever always better than a straight-line lever? No. Curved-path levers follow a cam that can deliver smoother thread tension over time, but straight-line levers are simpler and less prone to wear if the cam is clean and the material isn’t thick or gummy. The trade-off is between precision tension and durability.
Final Thoughts
The take-up lever isn’t the part you tweak—it’s the part you verify. The three jobs it performs in that back-and-forth motion—pulling the thread taut, releasing it to form the loop, and tightening the stitch—happen automatically with every revolution of the handwheel. Adjusting the upper tension discs won’t fix a skipped stitch if the lever’s timing is off. Before you touch a screwdriver or twist a dial, run the 90-second handwheel test: turn the wheel by hand and watch the lever’s three critical positions. If it moves smoothly through all three without hesitation, the lever itself isn’t the problem. If it hesitates, sticks, or feels gritty, the cam profile may be worn—or lint could be lurking where you can’t see it.
Replacement is straightforward, but only if the cam profile is still smooth and the pivot isn’t loose. A worn slot or pivot wear means the lever’s motion becomes inconsistent, and inconsistent motion breaks stitches. If the wear is minor, a thorough cleaning might restore its function. But if the cam profile is grooved or the pivot wobbles, the lever’s days are numbered. In those cases, the fix isn’t adjustment—it’s replacement.
Before you remove anything, check for the obvious: is the lever hitting the needle eye? Is the path clear of lint? Does the lever travel the full distance without binding? These aren’t fine-tuning steps—they’re mechanical health checks. If you hear grit when turning the handwheel, don’t blame the lever yet. Follow the lint trail to the bobbin race first—how to clean it properly—before assuming the lever is at fault.
When the lever fails, the stitches fail with it. The lever’s motion is the pulse of every stitch, and a weak pulse means broken rhythm. But here’s the good news: verifying the lever takes minutes, not hours, and the fix is often as simple as a clean cloth or a new part. Just don’t skip the verification step—because the lever doesn’t adjust itself. It just is.
Keep reading
Keep exploring the topic with these related guides: